


Git is a distributed version control system. Using Git, many developers can make changes to the same code base at the same time without running into accidents like overriding someone else’s changes. Git will only update the differences made to a file.
Let's do a small demo to track and upload a simple markdown file to Github.
Git/Github Demo
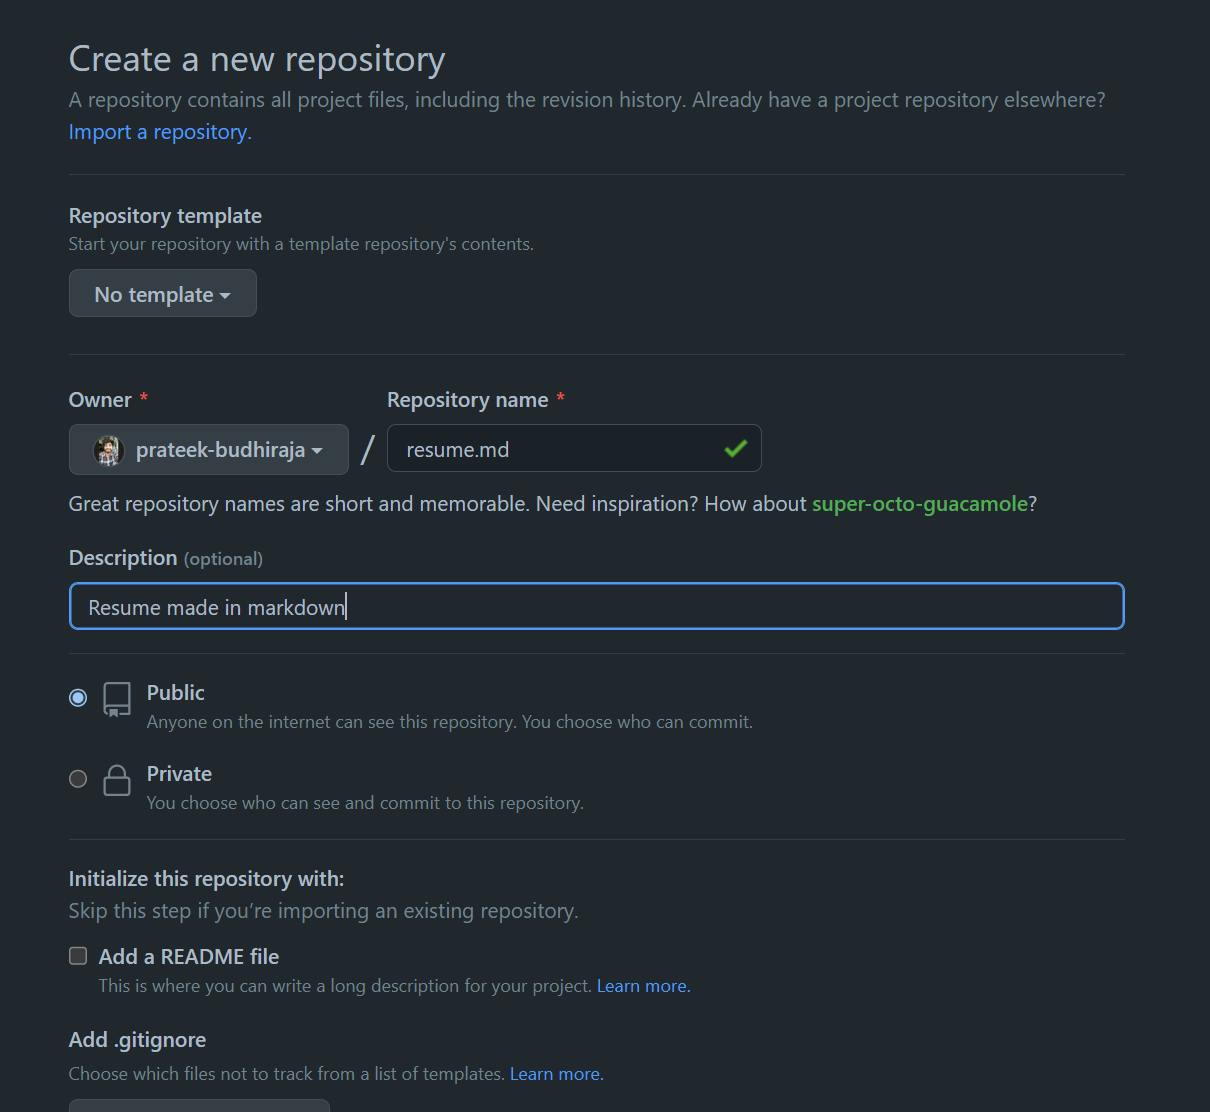
- First, go to your repositories and click new.

- Fill in the repository name and description and click
Create repository.
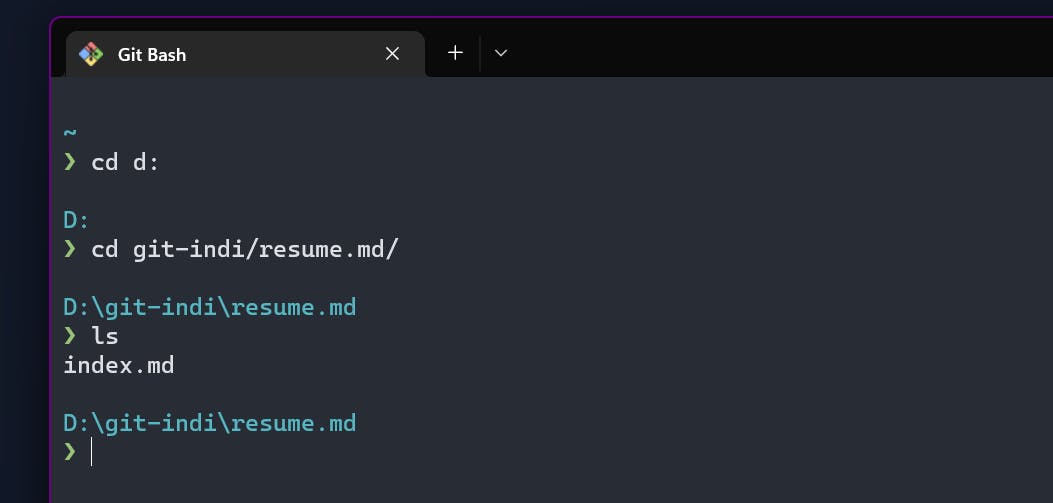
Go to your git bash terminal (and make sure that your git is already installed and configured, if not you can find links at the end of this blog.)
Traverse to the folder/directory where your file resides.
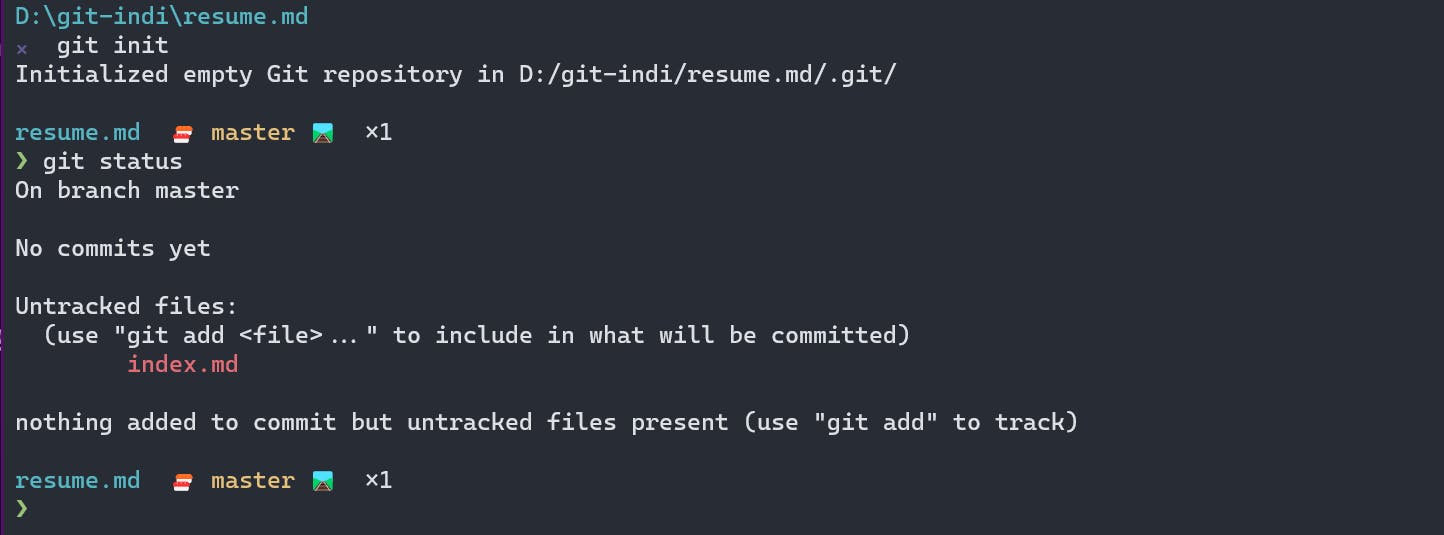
- Now to track files on this directory, you need to initialize git onto your folder, use the below command to do that.
git init
- You can also check the status of the files using.
git status
- To start tracking a file (send to staging area) we use.
git add .
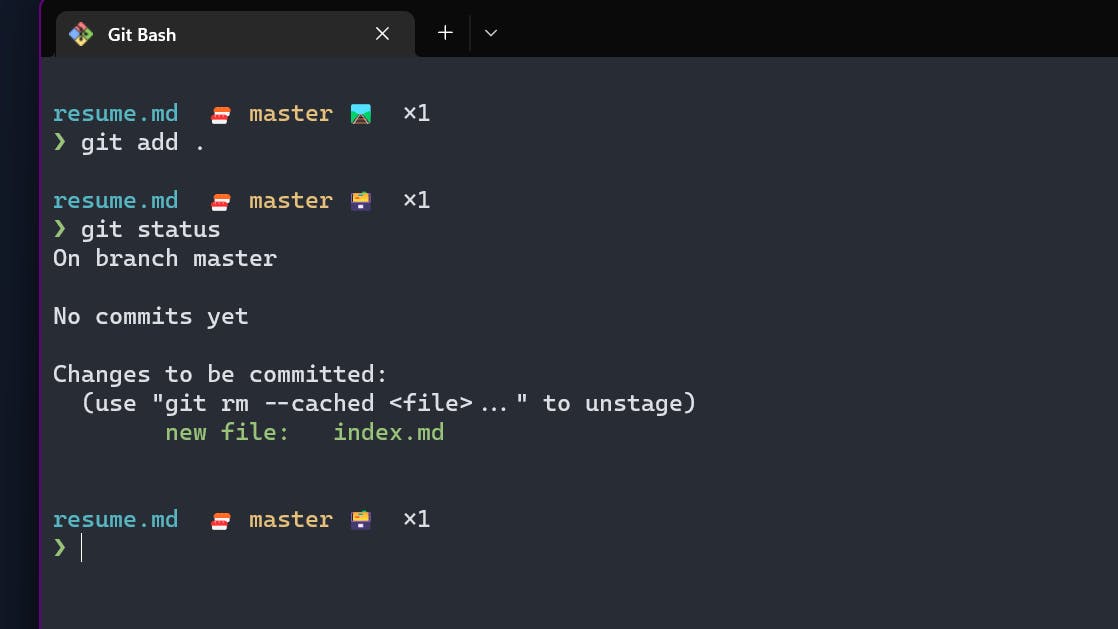
- To save a version of that file we commit it with a message appropriate.
git commit -m "init commit"

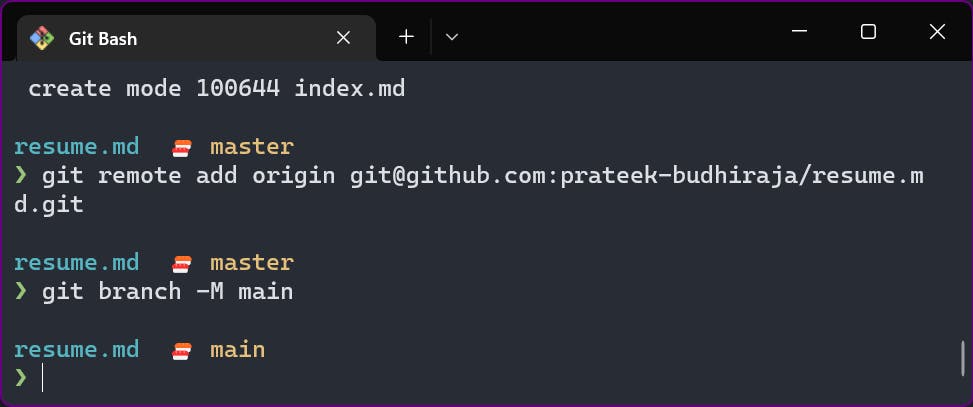
- Here we have the file tracked by git in our local system, but if we want our changes to reflect onto the cloud (Github in this case), we first get the URL where we want to store our code, which you will get from your new repo and we can set the branch of the repo.
git remote add origin git@github.com:prateek-budhiraja/resume.md.git
git branch -M main
- Everything is set now, we can just push our code to GitHub with
git push -u origin main
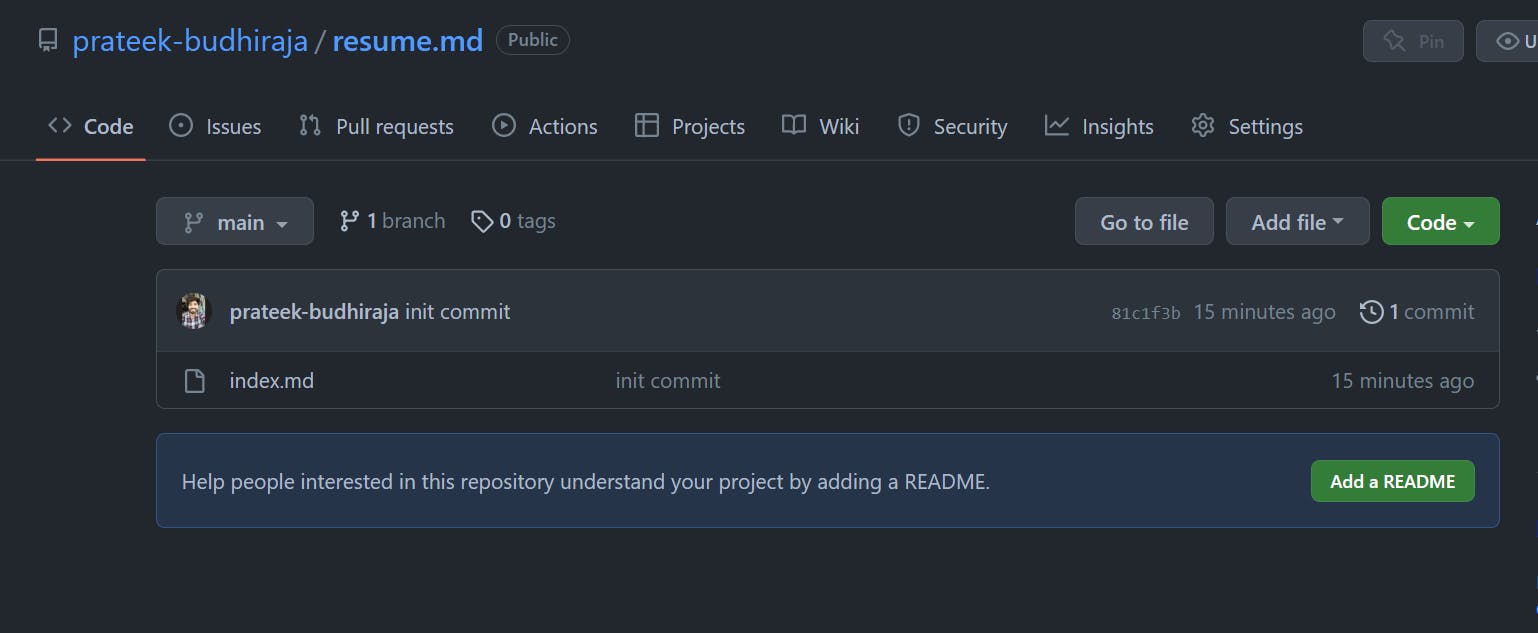
- Now when you refresh your repo, you will see your uploaded file.
Setup Github pages
You can go to the settings and then to Pages and do the below changes.
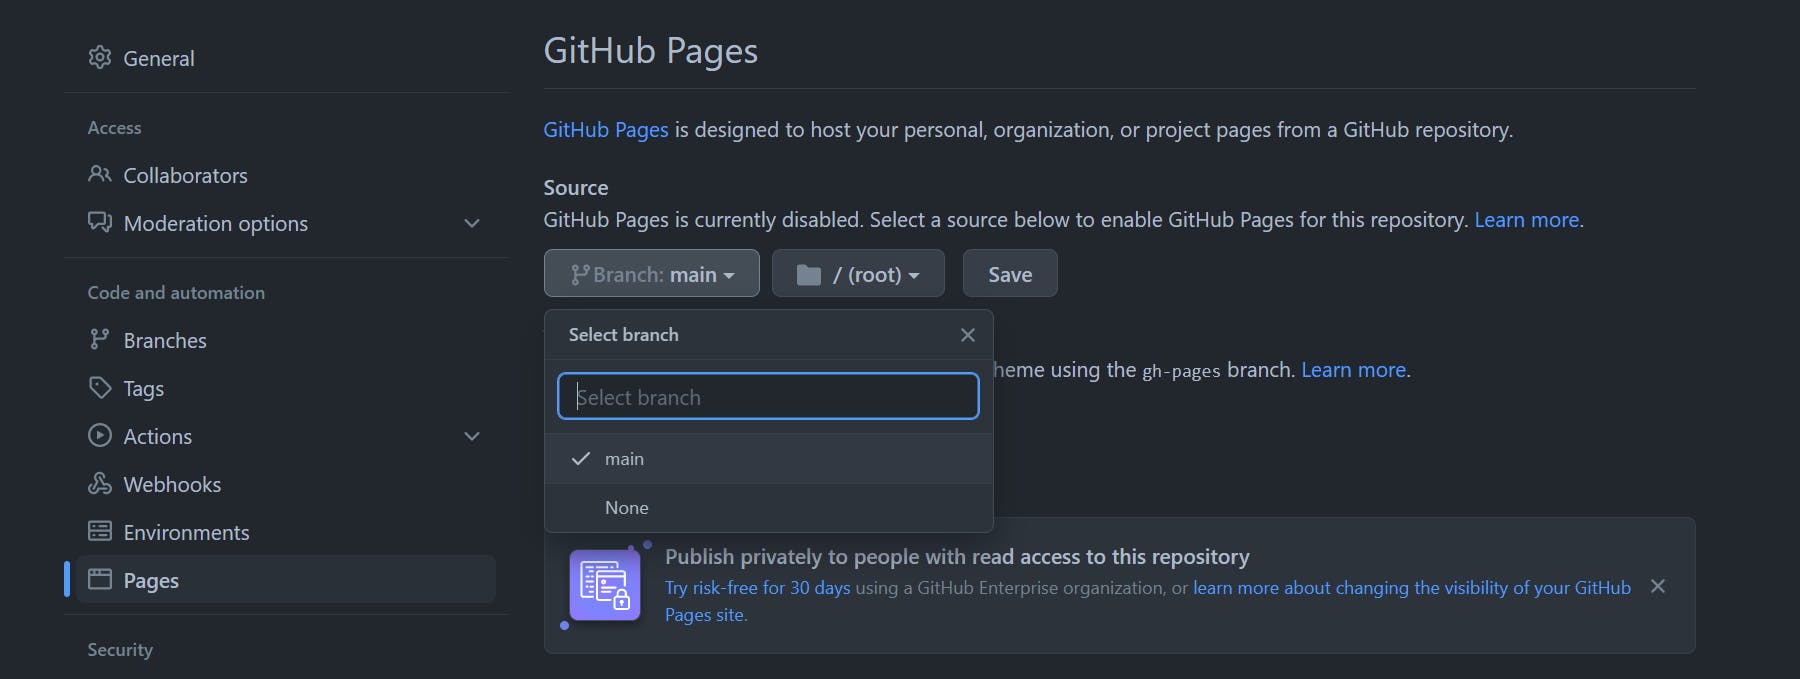
A couple of minutes after you save the settings, you will be able to access your Github pages website on the URL.