How to work with CSS selectors? (with use cases for your next project)✨
Select HTML elements like a PRO and create beautiful web pages!

🚀 Web Designer and learning full Stack Web development.
Isn't it frustrating when you can't make an element look the way you want?
Well... We've all been there!
We all know the importance of CSS and cannot even think of the internet without CSS! No excitement, no fun, no emotions, straight up all the content thrown at your screen. See the amazon without CSS 👁️
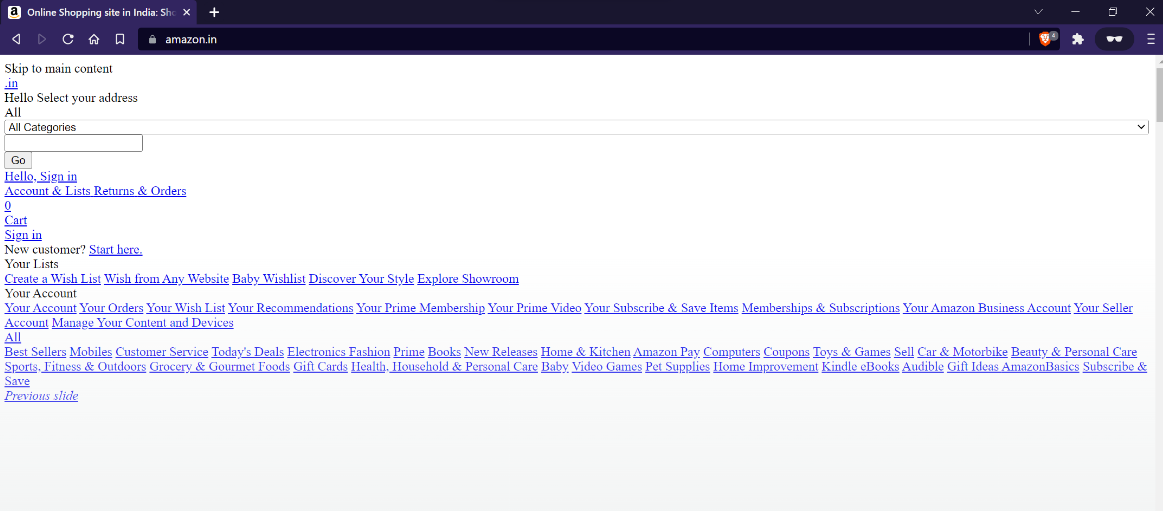
Ugly right? You can't afford to have your website look like this! And you don't have to because learning everything about CSS could feel overwhelming but getting started with it and making your website look decent is not hard and you will see how, before this blog ends. I PROMISE 🙊
CSS Selectors should be the very first thing to learn! Before jumping on to the properties or the flex or the grid or any other advanced concepts.

But I don't need a blog explaining to me about selectors, I already know how to change the font size of my p tag? I always use
p {
  font-size: 40px;
}
is it different from what I already do?
YES! selecting elements directly is not recommended, though using it in your own small project is still fine, you will rarely find it used in complex web apps. Stick around till the end and you will learn something new!
Let's select👆

Universal Selector
This is what it sounds like, it selects your entire DOM, if I have to say it easier - It selects everything.
We select everything with a*and give it properties whatever we like. Most of the time you'll see developers use it to remove browser default margins and padding so that the website looks consistent on all browsers.
* {
  margin: 0;
  padding: 0;
  outline: 0;
}
Tag Selector
Tag selector lets you directly target any HTML element and it selects all the occurrences of that element. The tag selector is not recommended way of selecting elements as in large code bases, it would cause troubles.
div {
  display: inline-block;
  min-width: 100px;
  min-height: 100px;
  background-color: #03203C;
  border: 1px solid #fff;
}
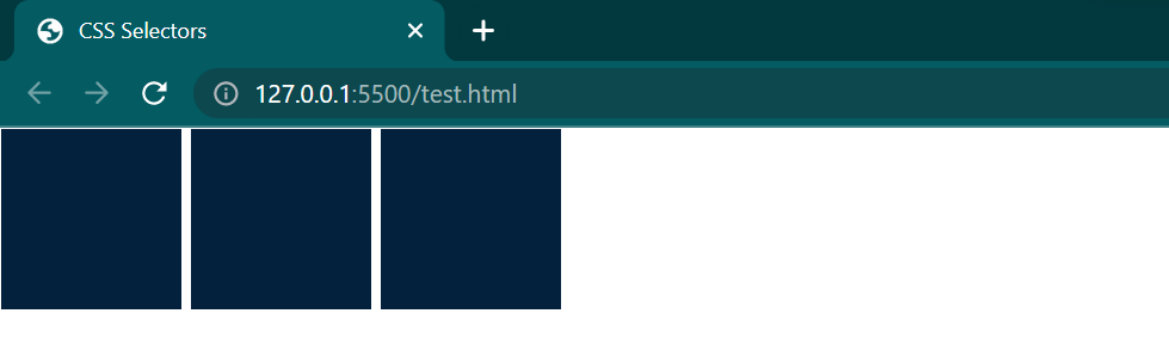
You will see this often in other people's code
body {
  font-family: 'Roboto', sans-serif;
  background-color: #03203C;
  padding: 15px;
}
Class and ID Selector
You can give class and id as an attribute to your HTML tags and later reference it using CSS like below.
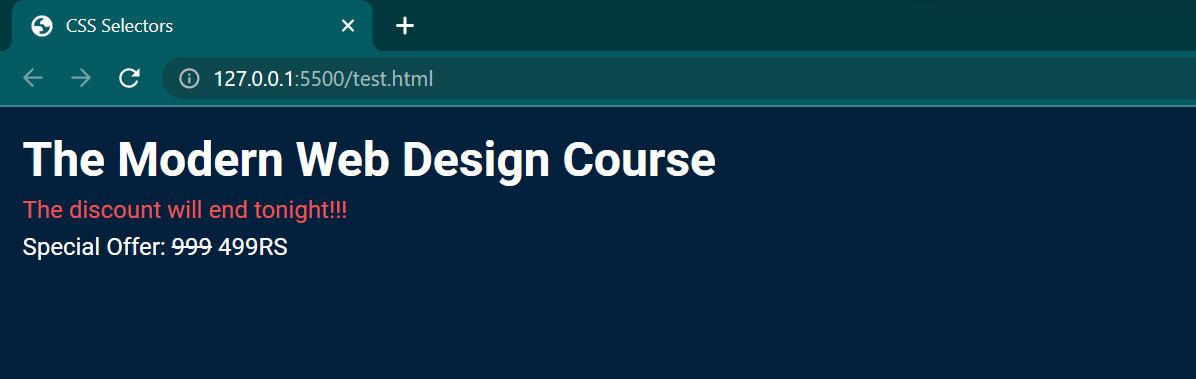
<h1 class="dark-mode">The Modern Web Design Course</h1>
<div id="warning" class="dark-mode">The discount will end tonight!!!</div>
<span class="dark-mode">Special Offer: <del>999</del> 499RS</span>
#warning {
  color: #e75757;
  padding: 5px 0;
}

.dark-mode {
  color: #fff;
}
 The main difference between classes and ids is that generally, we give the same class name to multiple elements whereas we give a unique ID to the element where it is required. Though we can give ID to multiple tags as well as HTML is very forgiving but it is a good practice to use ID when we need to select a single element.
IDs are usually used when we are working with JS and we need to select a particular element so that we can pinpoint a certain component 🎯
The main difference between classes and ids is that generally, we give the same class name to multiple elements whereas we give a unique ID to the element where it is required. Though we can give ID to multiple tags as well as HTML is very forgiving but it is a good practice to use ID when we need to select a single element.
IDs are usually used when we are working with JS and we need to select a particular element so that we can pinpoint a certain component 🎯

Chained Selector
The chained selector is a lifesaver if you are working with multiple nested elements and you want to be sure that you are selecting the right element. To target that we use.between the selectors and we go one level deep each time.
del.price-slash {
  position: relative;
  text-decoration: none;
}

del.price-slash::after {
  content: "";
  position: absolute;
  top: 50%;
  left: 0;
  width: 100%;
  height: 1px;
  background: #fff;
  transform: rotate(-10deg);
}
The above code will make sure to apply the CSS properties only to the del tag which has a price-slash class. Don't worry about ::after as we'll discuss it in this blog itself!
Combined Selector
There are times when we need to set the same properties to multiple classes, and writing the same thing over and over again is not efficient. So we have,with this we can select multiple selectors and can give them properties in one go.
<h1 class="dark-mode">The Modern Web Design Course</h1>
<div id="warning" class="dark-mode">The discount will end tonight!!!</div>
<span class="dark-mode">Special Offer: <del class="price-slash text-red">999</del> 499RS</span>
.text-red,
#warning {
  color: #e75757;
  padding: 5px 0;
}

Inside an element
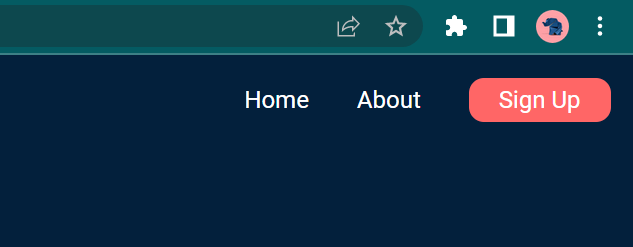
If we want to select an element nested inside tags, then we can use space between our selectors. Here we are selecting an element with a classbuttonnested inside adivand aul.
div ul .button {
  background-color: #FF6666;
  color: #fff;
  padding: 5px 20px;
  border-radius: 10px;
  border: 0;
}
Direct child Selector
Direct child selector is super simple, it just selects only if the element to be selected is an immediate child. For example, in the below code only the first li would be selected and the properties will change accordingly.
<div>
    <span>
      Some Useful content which has to be colored!!
    </span>
</div>
<span>
      Lorem ipsum dolor sit amet consectetur adipisicing elit. Suscipit, rerum?
</span>
div>span {
  background-color: #ff6666;
  color: #fff;
  font-size: 2rem;
  padding: 8px;
}

Attributes Selector
You can use this to select attributes of a particular tag or you can create your custom attribute and select them as well.
Lets understand this with the help of an example: We are defining the type as confirmpassword which is a custom type
<form action="#">
    <input type="password" name="password" id="password" placeholder="Enter your password"><br />
    <input type="confirmpassword" name="confirmpassword" id="confirmpassword" placeholder="Confirm your password">
</form>
[type="confirmpassword"] {
  color: #e75757;
  -webkit-text-security: disc;
}
 Custom attribute example
<div myattri>Some Content inside a div</div>
[myattri] {
  font-size: 3rem;
  color: #35BDD0;
}

Great! You came this far, from now on things are going to get more interesting.

We have talked about how to select elements, but now I want to define what will happen if I try to interact with my element. For that we have pseudo-classes, there are many but we'll discuss the ones that are important and we use extensively.
Pseudo Classes
:hover
Whenever you hover over any element, this will get triggered. I am just changing the font size on hover, but we can change as many properties as we like.
.submit-button {
  padding: 7px 20px;
  border: 0;
  border-radius: 15px;
  background-color: #EF5354;
  color: #fff;
  font-size: 1.5rem;
  transition: font-size 0.3s ease-in-out;
}

.submit-button:hover {
  font-size: 1.8rem;
}

:focus
This will get triggered when an element is in focus, for example, if we start to interact with the input box change something.
input:focus {
  background-color: #ff6666;
  color: #03203C;
}

:link
It works on the links that are not yet visited.:visited
It works opposite to the:link, as it targets the links that are already visited.:active
And with:active, we can target the element which is currently active, in the case of a link, from the time we click on it till the time we hold that mouse click this will be triggered.
a:link {
  color: #35BDD0;
}

a:visited {
  color: #F4BE2C;
}

a:active {
  color: #CAD5E2;
}

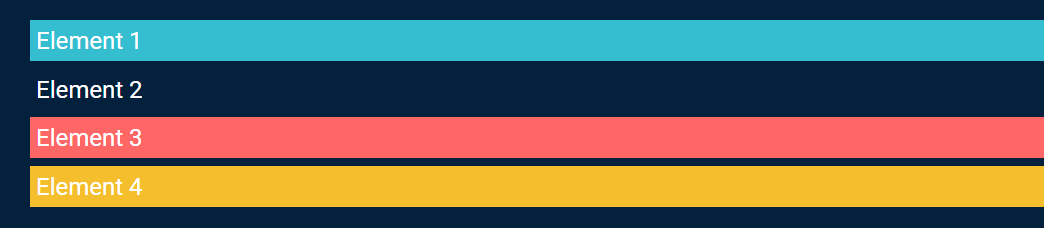
:first-child
With this selector, we can select the first child of any element.:last-child
You guessed it right, with this selector, we can target the last child of an element.:nth-child
With this, we can define which child we need.
ul>* {
  padding: 4px;
  margin: 5px;
  list-style-type: none;
  color: #fff;
}

li:first-child {
  background-color: #35BDD0;
}

li:last-child {
  background-color: #F4BE2C;
}

li:nth-child(3) {
  background-color: #ff6666;
}
We are almost at the end of the blog now! 🥂

Pseudo Elements (::)
::placeholder
Placeholder is self-explanatory, it selects placeholder value.
input::placeholder {
  padding: 15px;
  color: #CAD5E2;
}
::before and ::after
Before and after pseudo-elements are a great way to add styling to our website without adding extra elements we don't need. Where can we use it? The easy way to remember is that in which every element you can add text, you can use before and after.
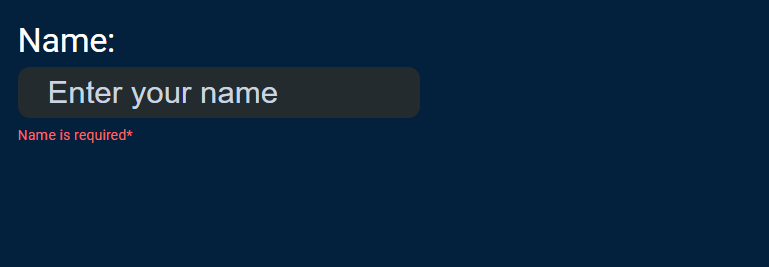
Here is an example with a text box.
#name:before {
  display: block;
  font-size: 1.4rem;
  content: "Name: ";
  color: #fff;
}

#name:after {
  display: block;
  height: 10px;
  content: "Name is required* ";
  font-size: .6rem;
  color: #ff6666;
}
That's all for this article now. I hope you learned something new!

You can find more resources if you want to read more about them!
Happy learning!